If you’ve updated your domain’s nameservers to Cloudflare, all DNS changes must be made in your Cloudflare dashboard. Bragghost’s DNS tools will not affect your domain when Cloudflare nameservers are active.
STEP 1: Log in to your Bragghost Client Area.
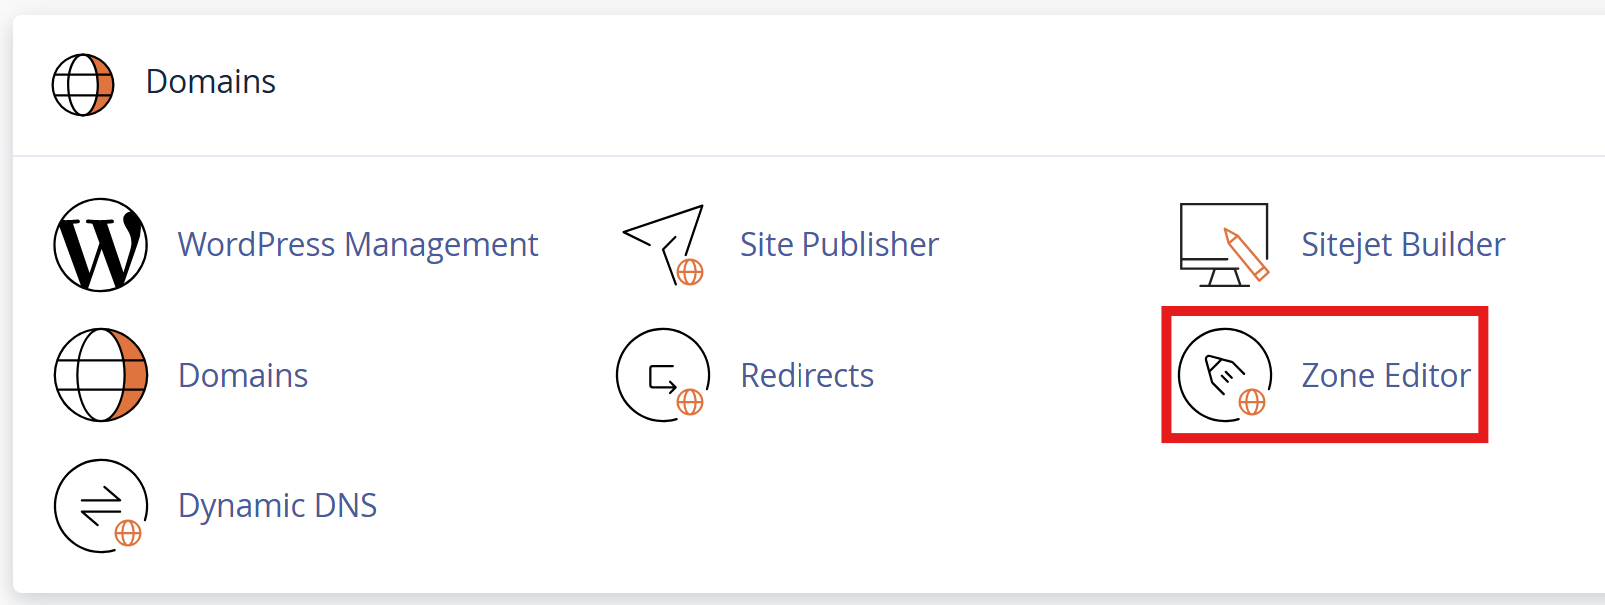
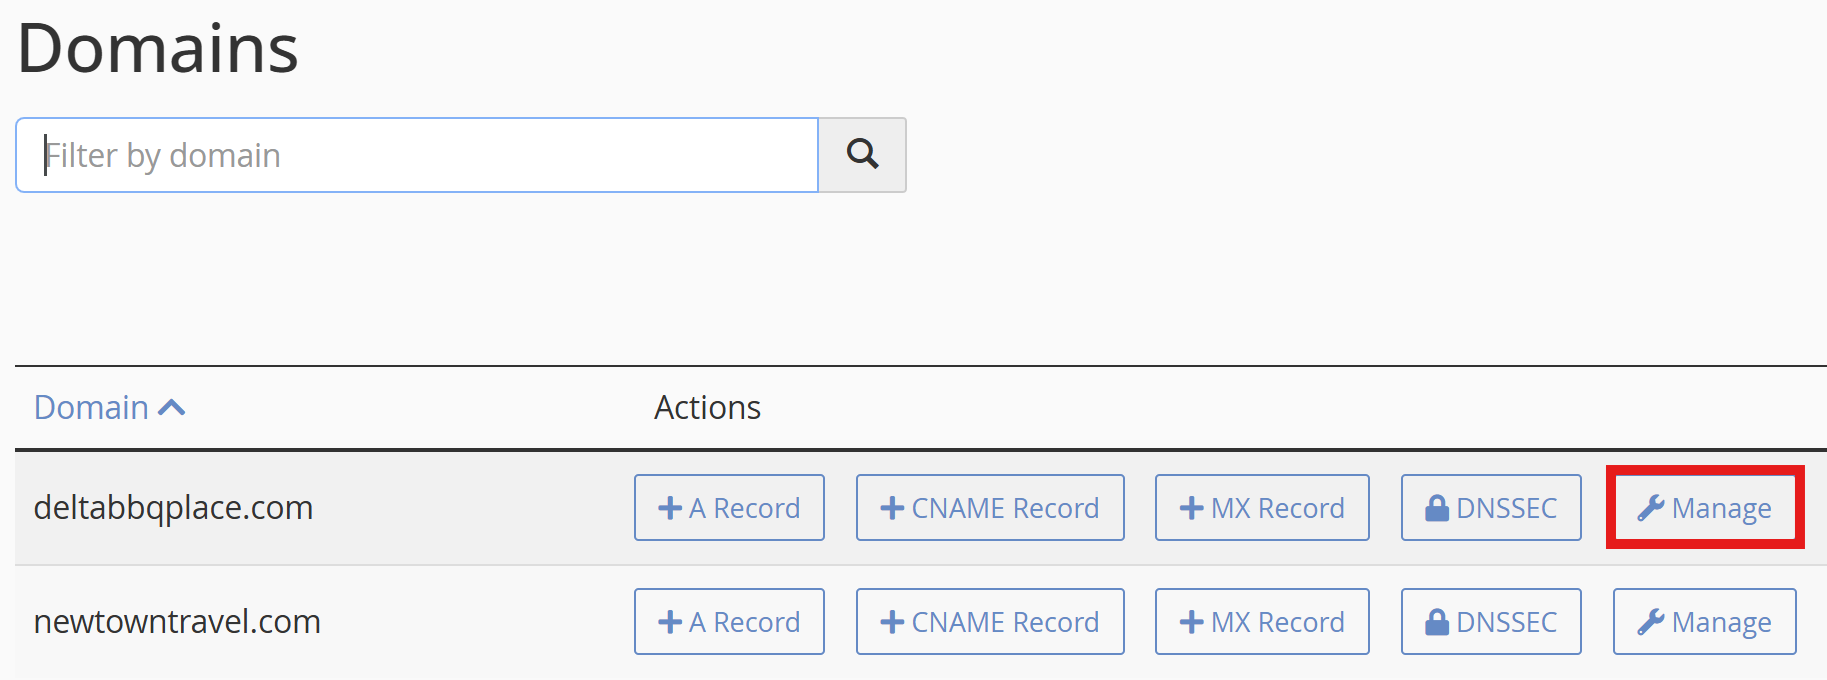
STEP 2: Click manage next to your domain.
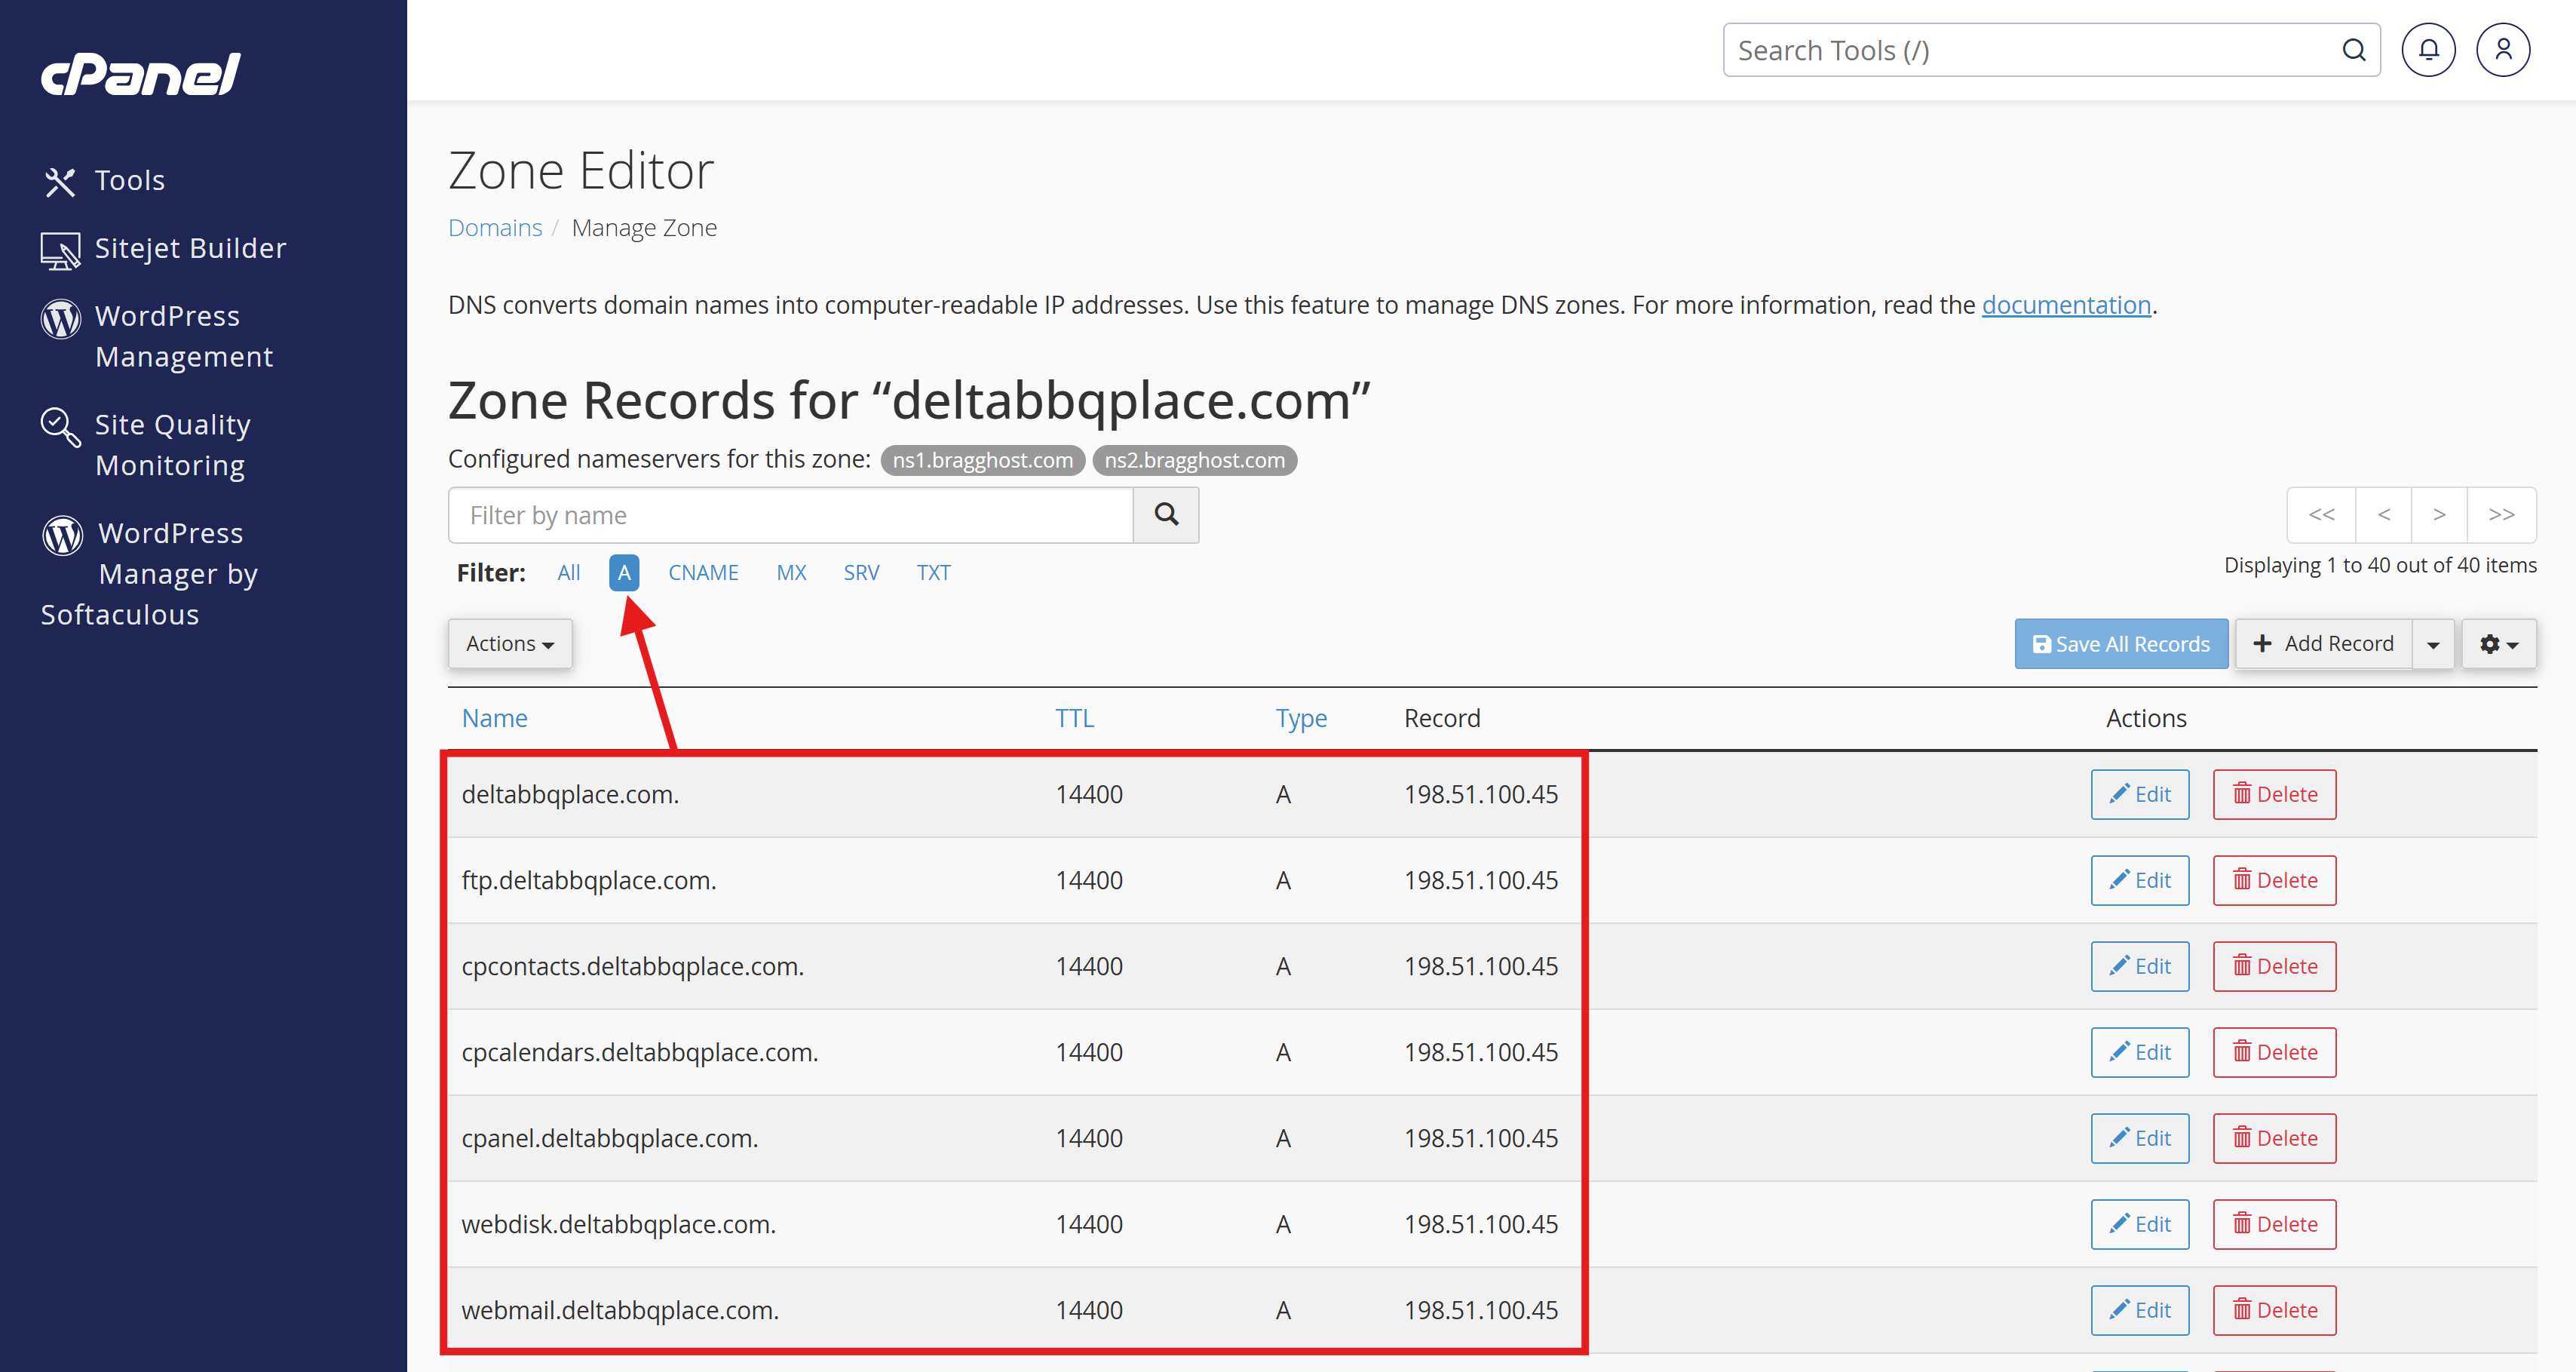
STEP 3: Sort and copy all the information you see so you can duplicate it in CloudFlare. Below is an example of the A records you will need, but you will need A / CNAME / MX / TXT.
STEP 4: Login to Cloudflare: https://dash.cloudflare.com/login
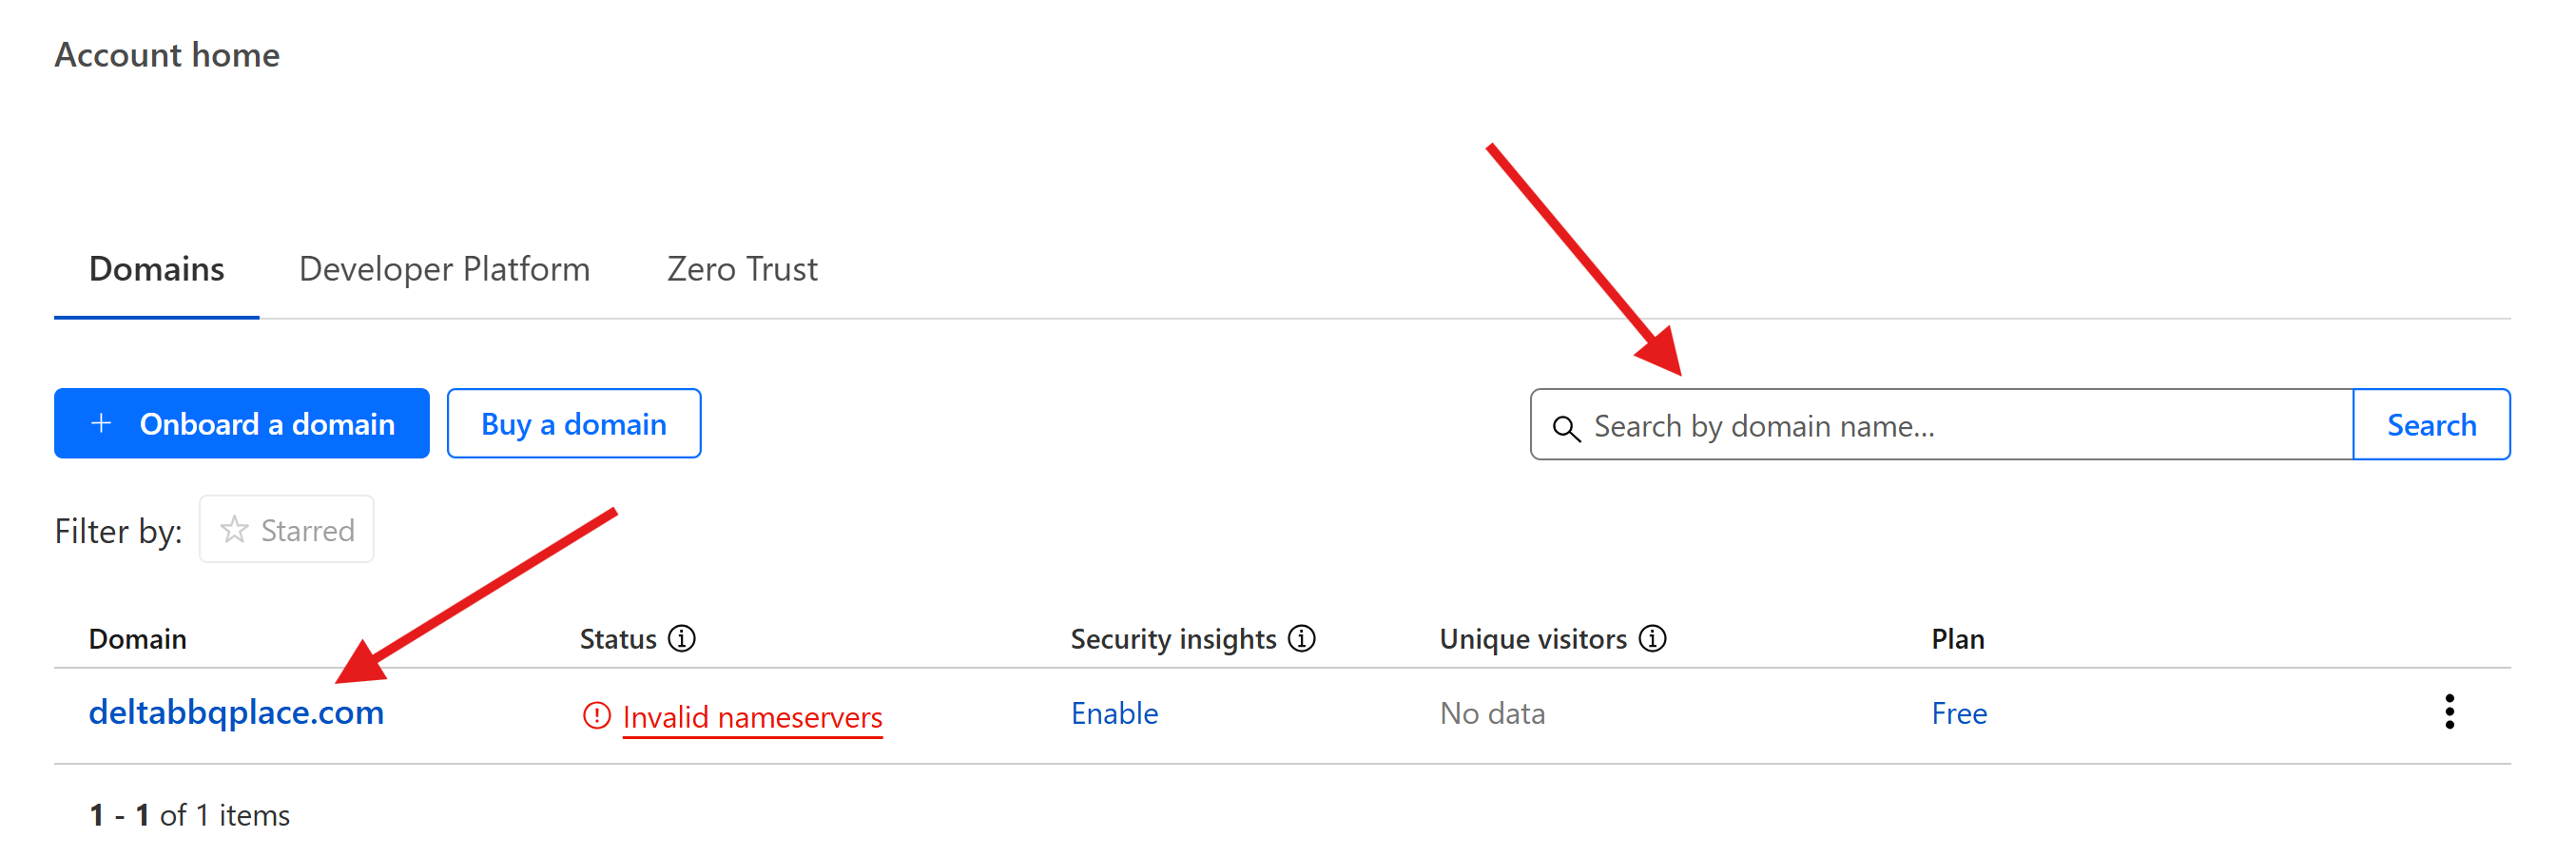
STEP 5: Select the domain name. You can use the search bar to find it if you have multiple domain names here.
STEP 6: Click Add Record. For A records select A. You can put an @ for Name. Then the IPv4 IP addresses provided to you. For now, turn off Proxy. Then hit save at the bottom and move on to your other records.

STEP 7: After you have added all your records into Cloudflare, you'll need to get your local SSL installed for your domain! Return to your cPanel and find the SSL/TLS Status icon.
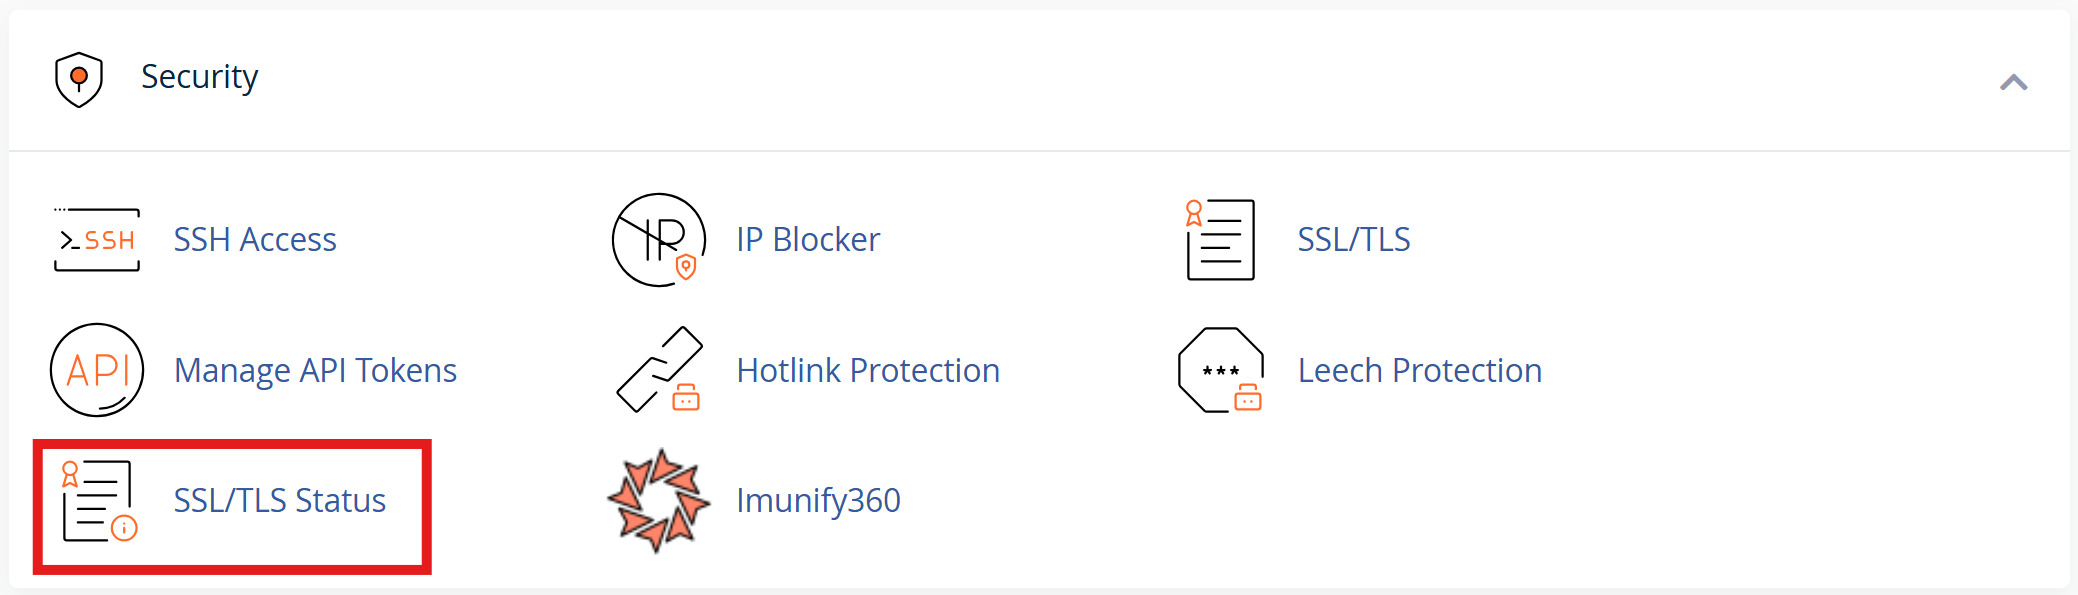
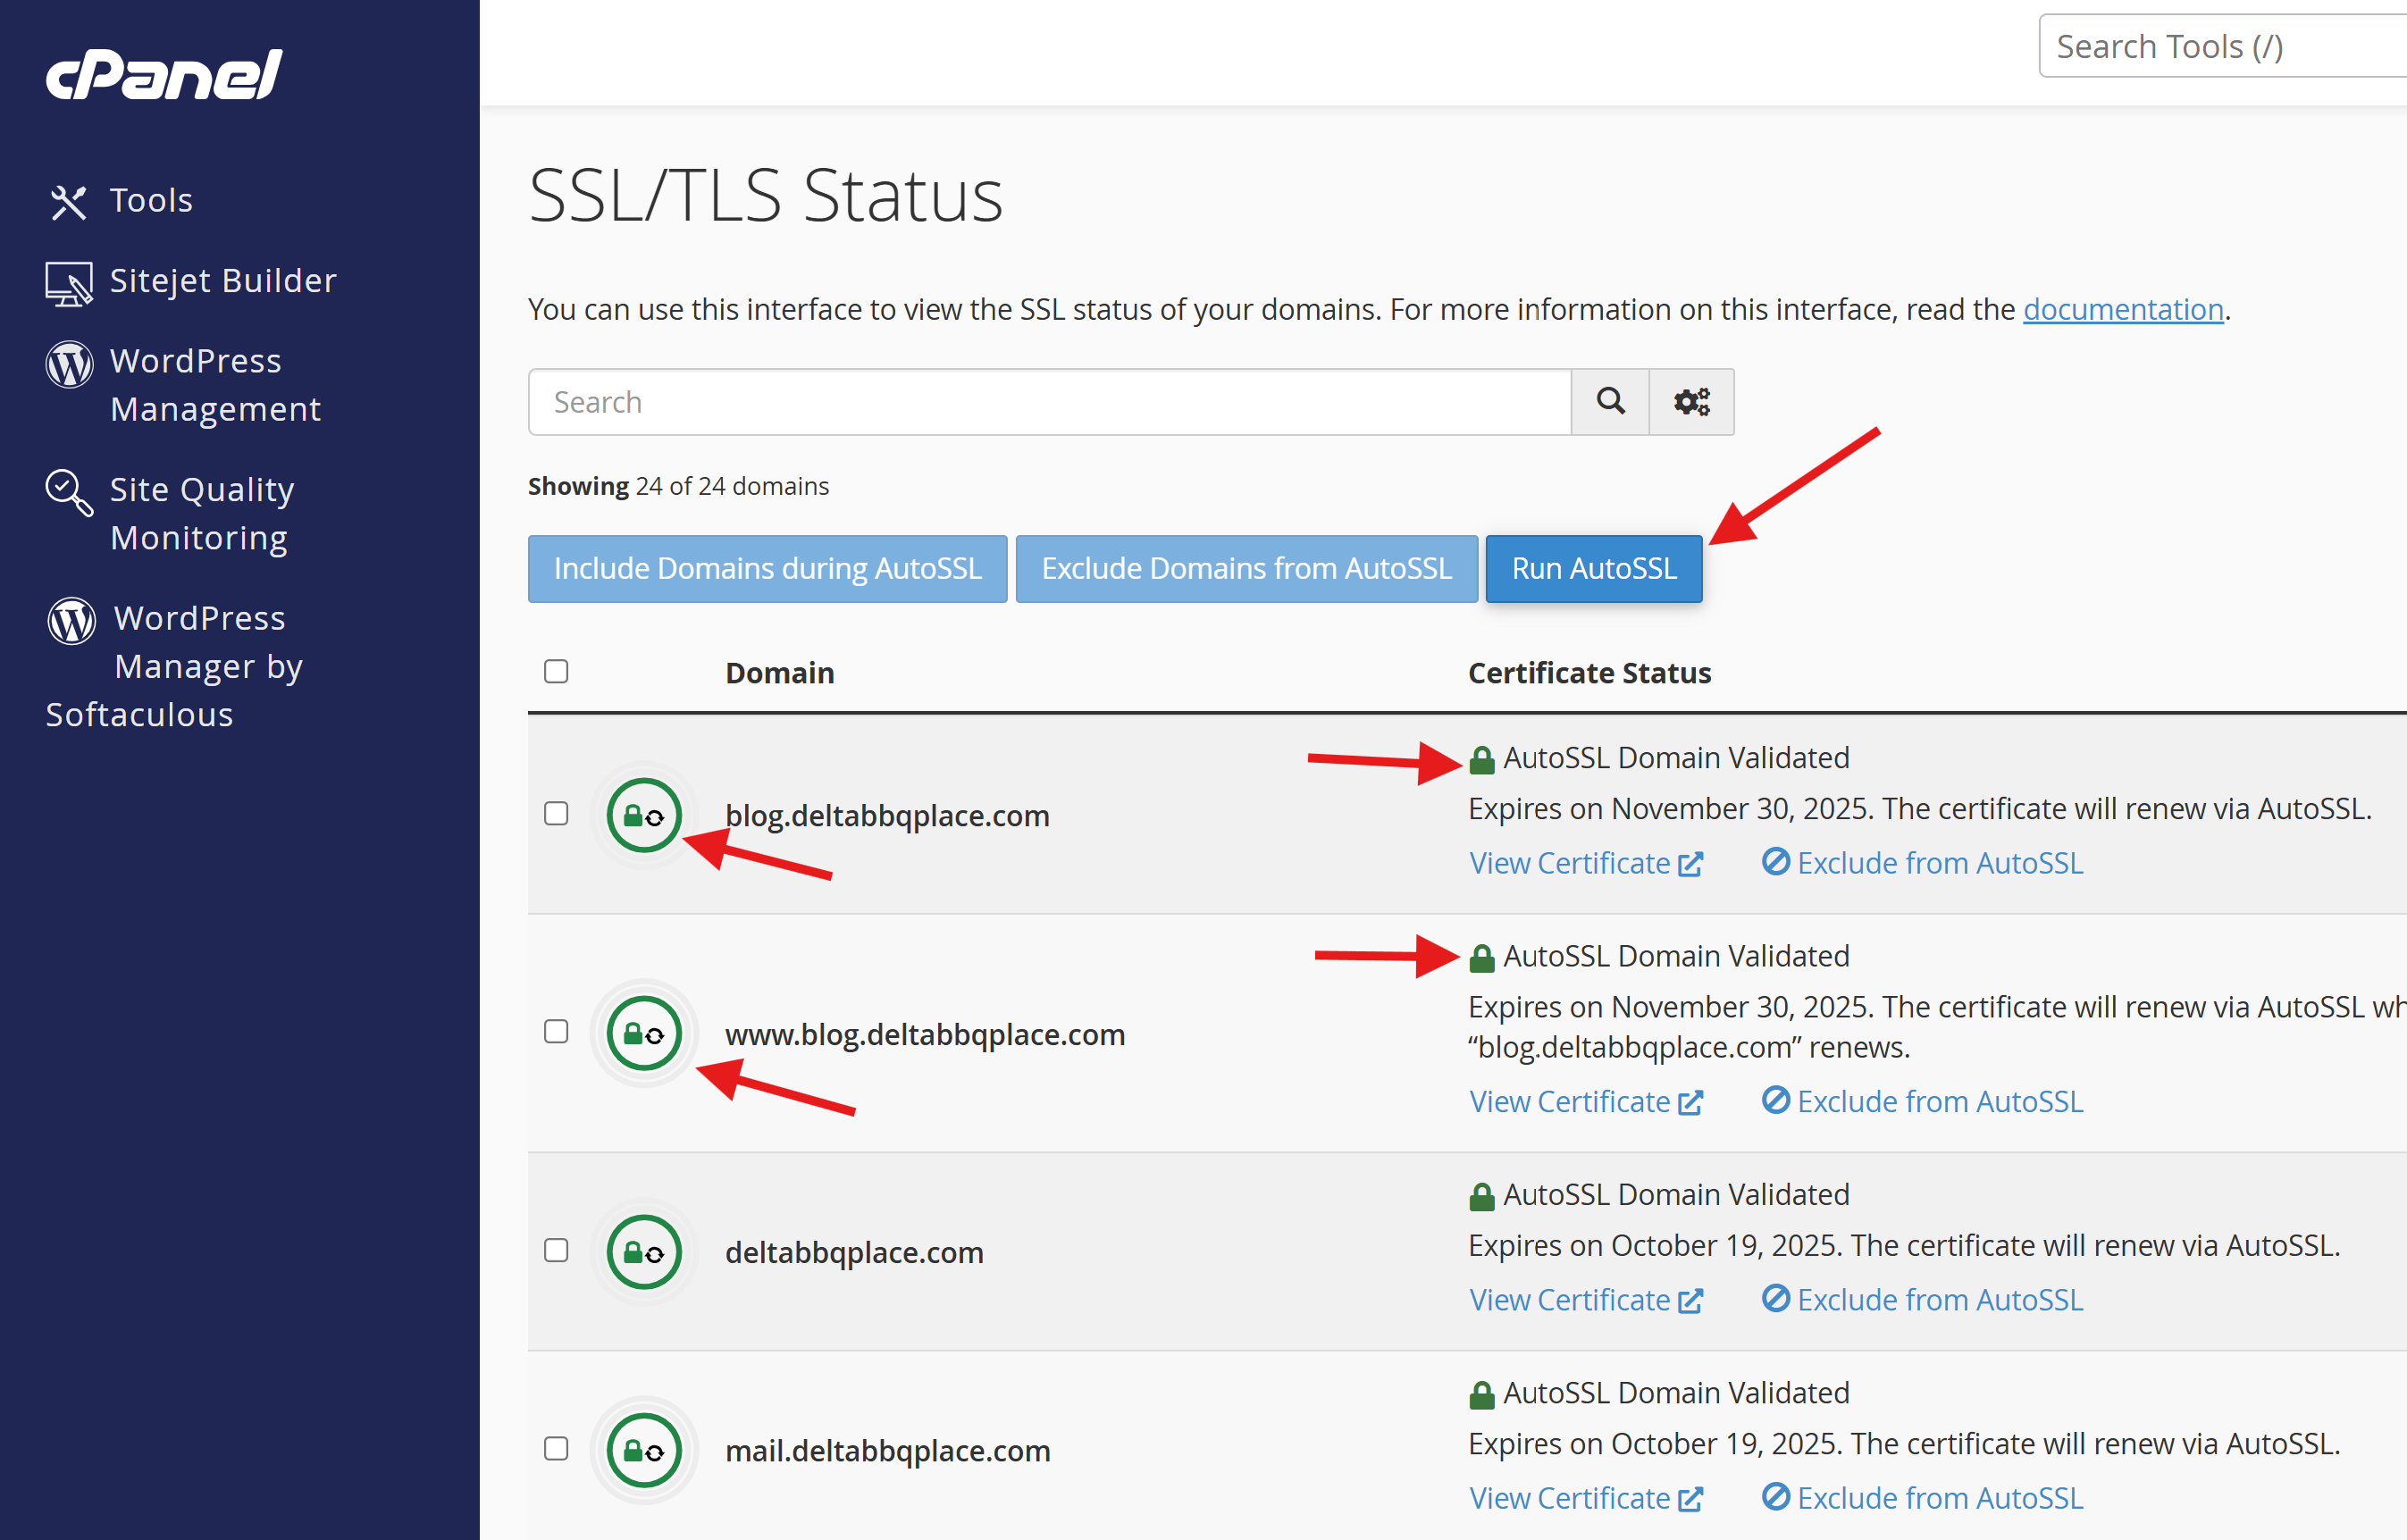
STEP 8: Click on Run AutoSSL. The task can take about 10-30 minutes to complete. The padlock icons will be red at first. Once the process is complete, everything will look similar to the image below.
If you have any issues or problems, please feel free to reach out to our Technical Support team!
