
Overview
This guide covers two secure methods of accessing your Bragghost hosting account:
- SFTP (SSH File Transfer Protocol) — for securely uploading and downloading files. Works with a visual FTP client like FileZilla. No command line needed.
- SSH (Secure Shell) — for direct command line access to your server. For advanced users who need to run commands, manage files, or configure applications directly on the server.
Note: Jailed shell access is enabled on all Bragghost hosting accounts by default. No support ticket is required to get started.
SSH is for advanced users. If you are not familiar with command line or server administration, we recommend using SFTP for file transfers instead.
What You'll Need
- Your cPanel username and password
- Your server hostname:
vps60658.nodevm.com - Port: 37980
- FileZilla (for SFTP)
Part 1: Connect via SFTP
SFTP is the recommended option for most customers. It allows you to securely upload, download, and manage your website files through a visual interface, no command line needed.
You can connect via SFTP using either your cPanel username and password, or SSH keys for a more secure connection. This guide covers the username and password method as it is the simplest approach.
Tip: If you prefer to use SSH keys for SFTP authentication, follow Part 2: Generate SSH Keys first, then come back to this section and select Key file as your Logon Type in FileZilla instead of Normal. You will then be prompted to browse to and select the private key file you downloaded from cPanel.
Step 1: Open FileZilla and go to Site Manager
Open FileZilla on your computer. In the upper left corner click the Site Manager icon or go to File → Site Manager.

Step 2: Create a New Site
Click New Site and give it a name — for example "Bragghost SFTP."

Step 3: Enter Your Connection Settings
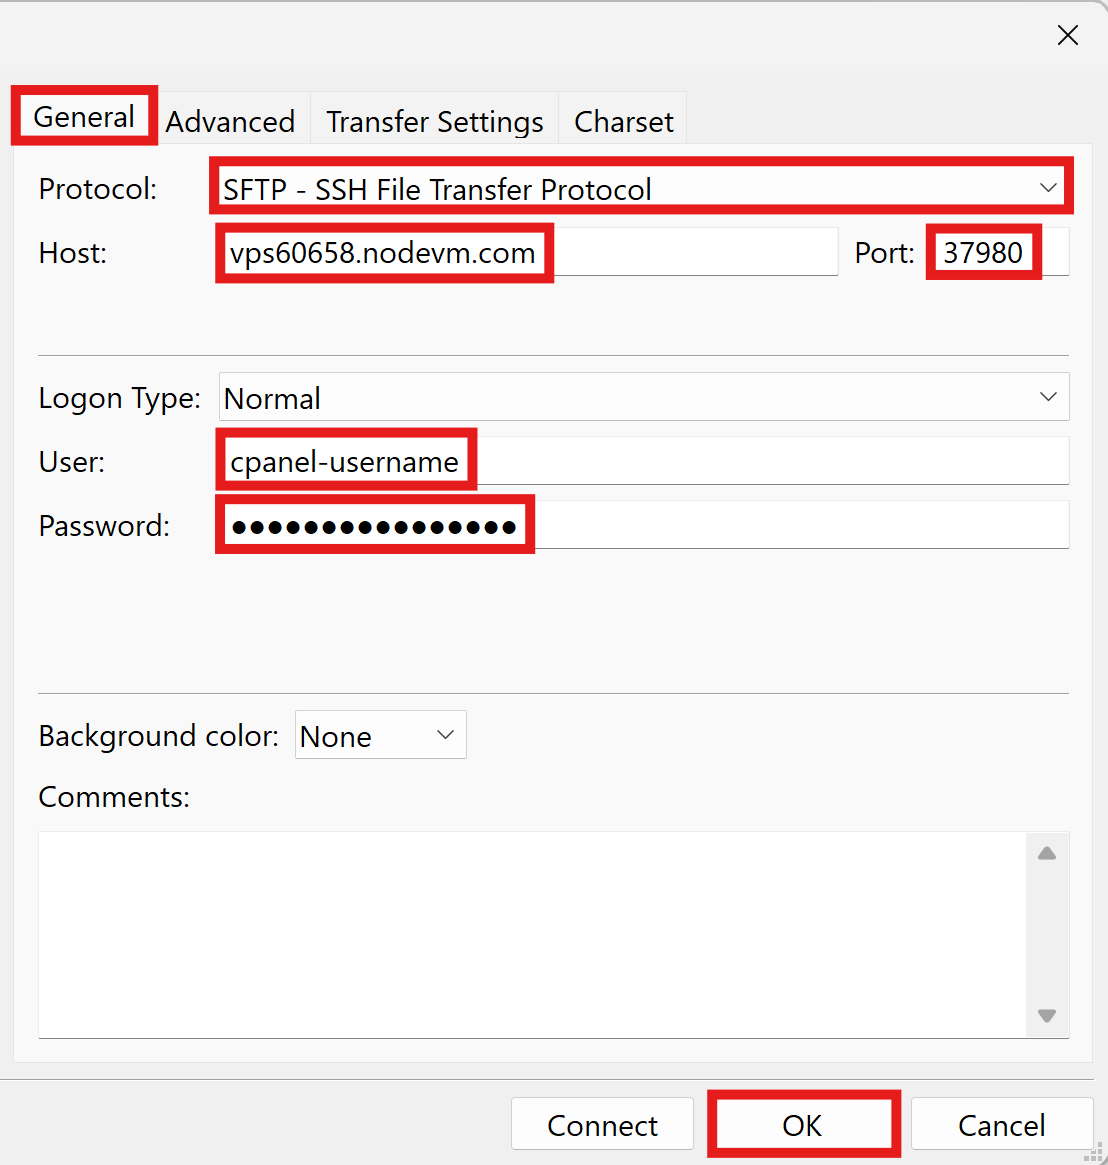
On the General tab enter the following settings, then click OK:
- Protocol: SFTP – SSH File Transfer Protocol
- Host:
vps60658.nodevm.com - Port: 37980
- Logon Type: Normal
- User: your cPanel username
- Password: your cPanel password
Step 4: Connect
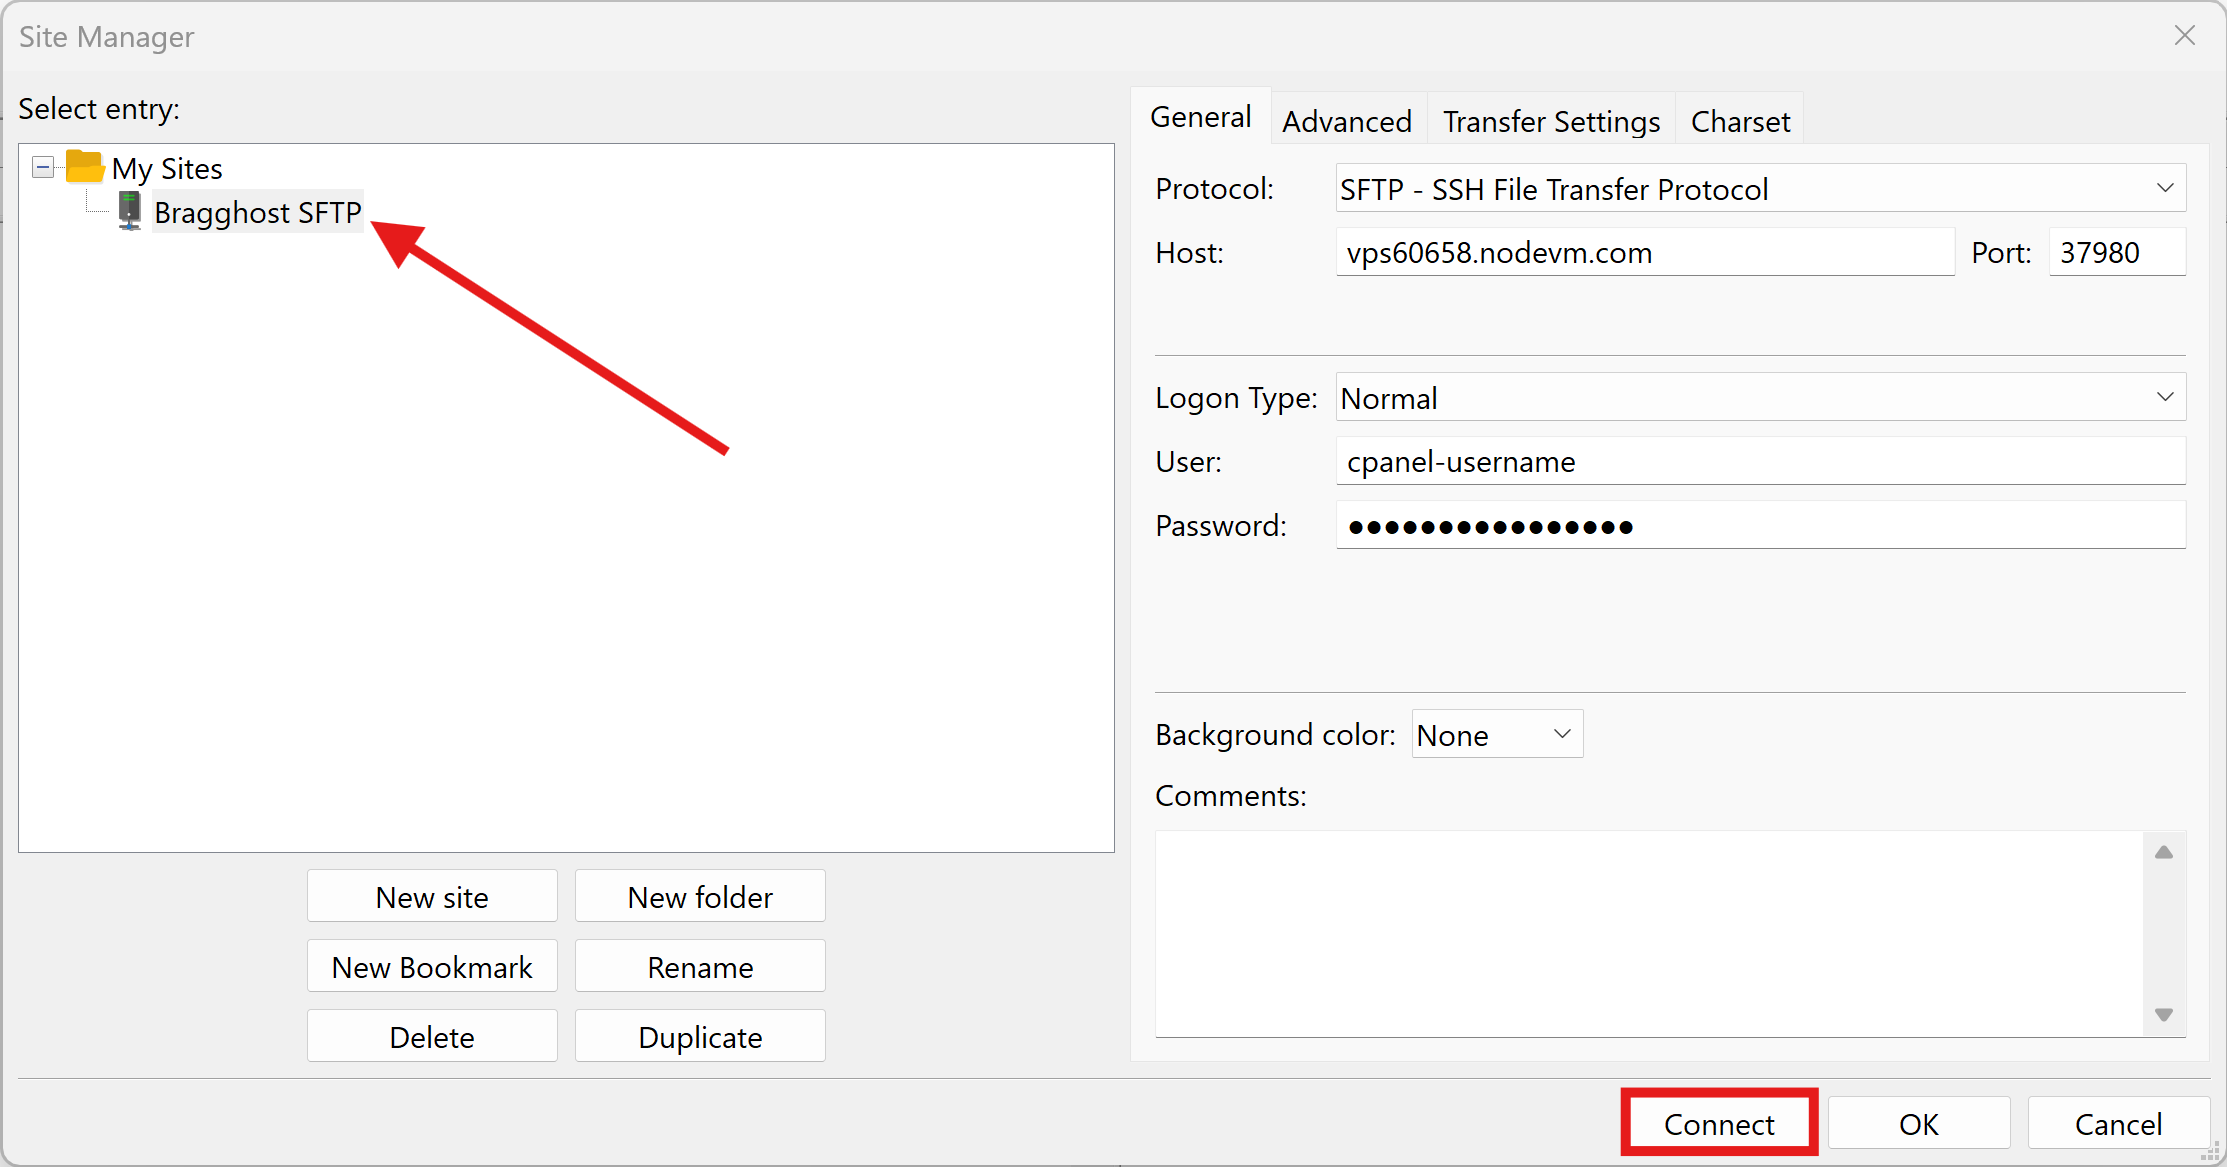
Go back to the Site Manager, select the site, then click Connect.
Step 5: Accept the Server Key
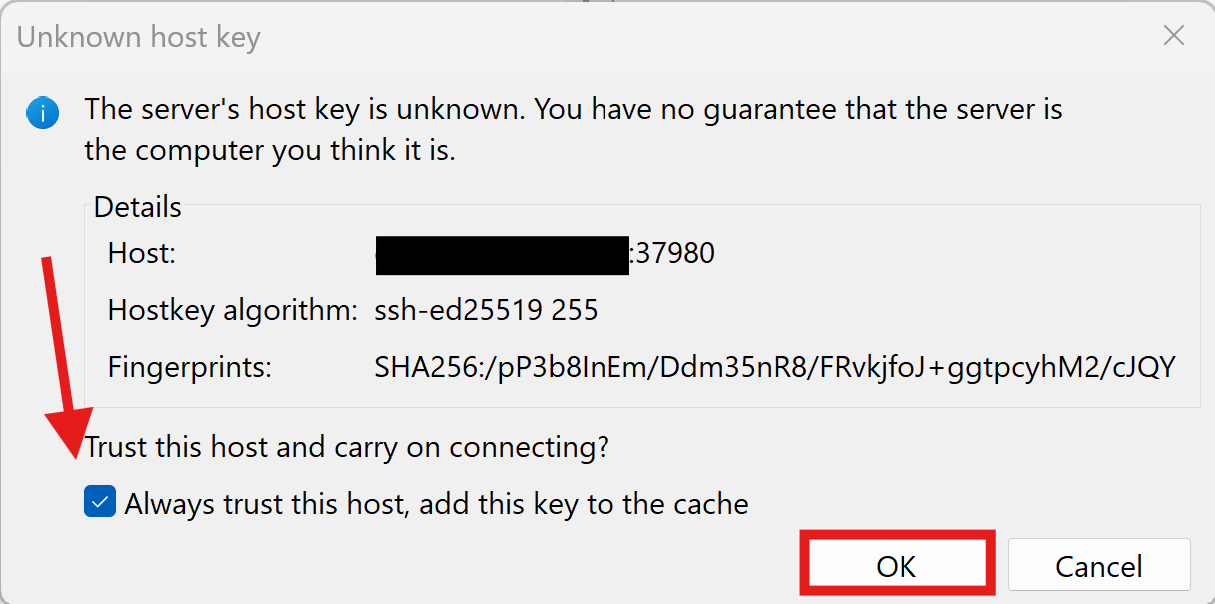
On your first connection you will see a popup asking you to trust the server's host key. Check Always trust this host and click OK. You will only see this once.
Step 6: You're Connected!
Once connected you will see your local files on the left and your hosting account files on the right. Navigate to public_html on the right side to access your website files.
Note: Most website files (such as index.html, index.php, WordPress files, etc.) are located inside the public_html directory.
Part 2: Generate SSH Keys in cPanel
SSH keys are required for SSH terminal access and are an optional but more secure alternative to password authentication for SFTP. This section walks you through generating your SSH keys directly in cPanel, no command line needed for key generation.
Step 1: Access SSH Access in cPanel
Log into your Bragghost Client Area and access cPanel from your hosting account. Search for SSH in the search bar at the top and click SSH Access.

Step 2: Manage SSH Keys
Click Manage SSH Keys.

Step 3: Generate a New Key
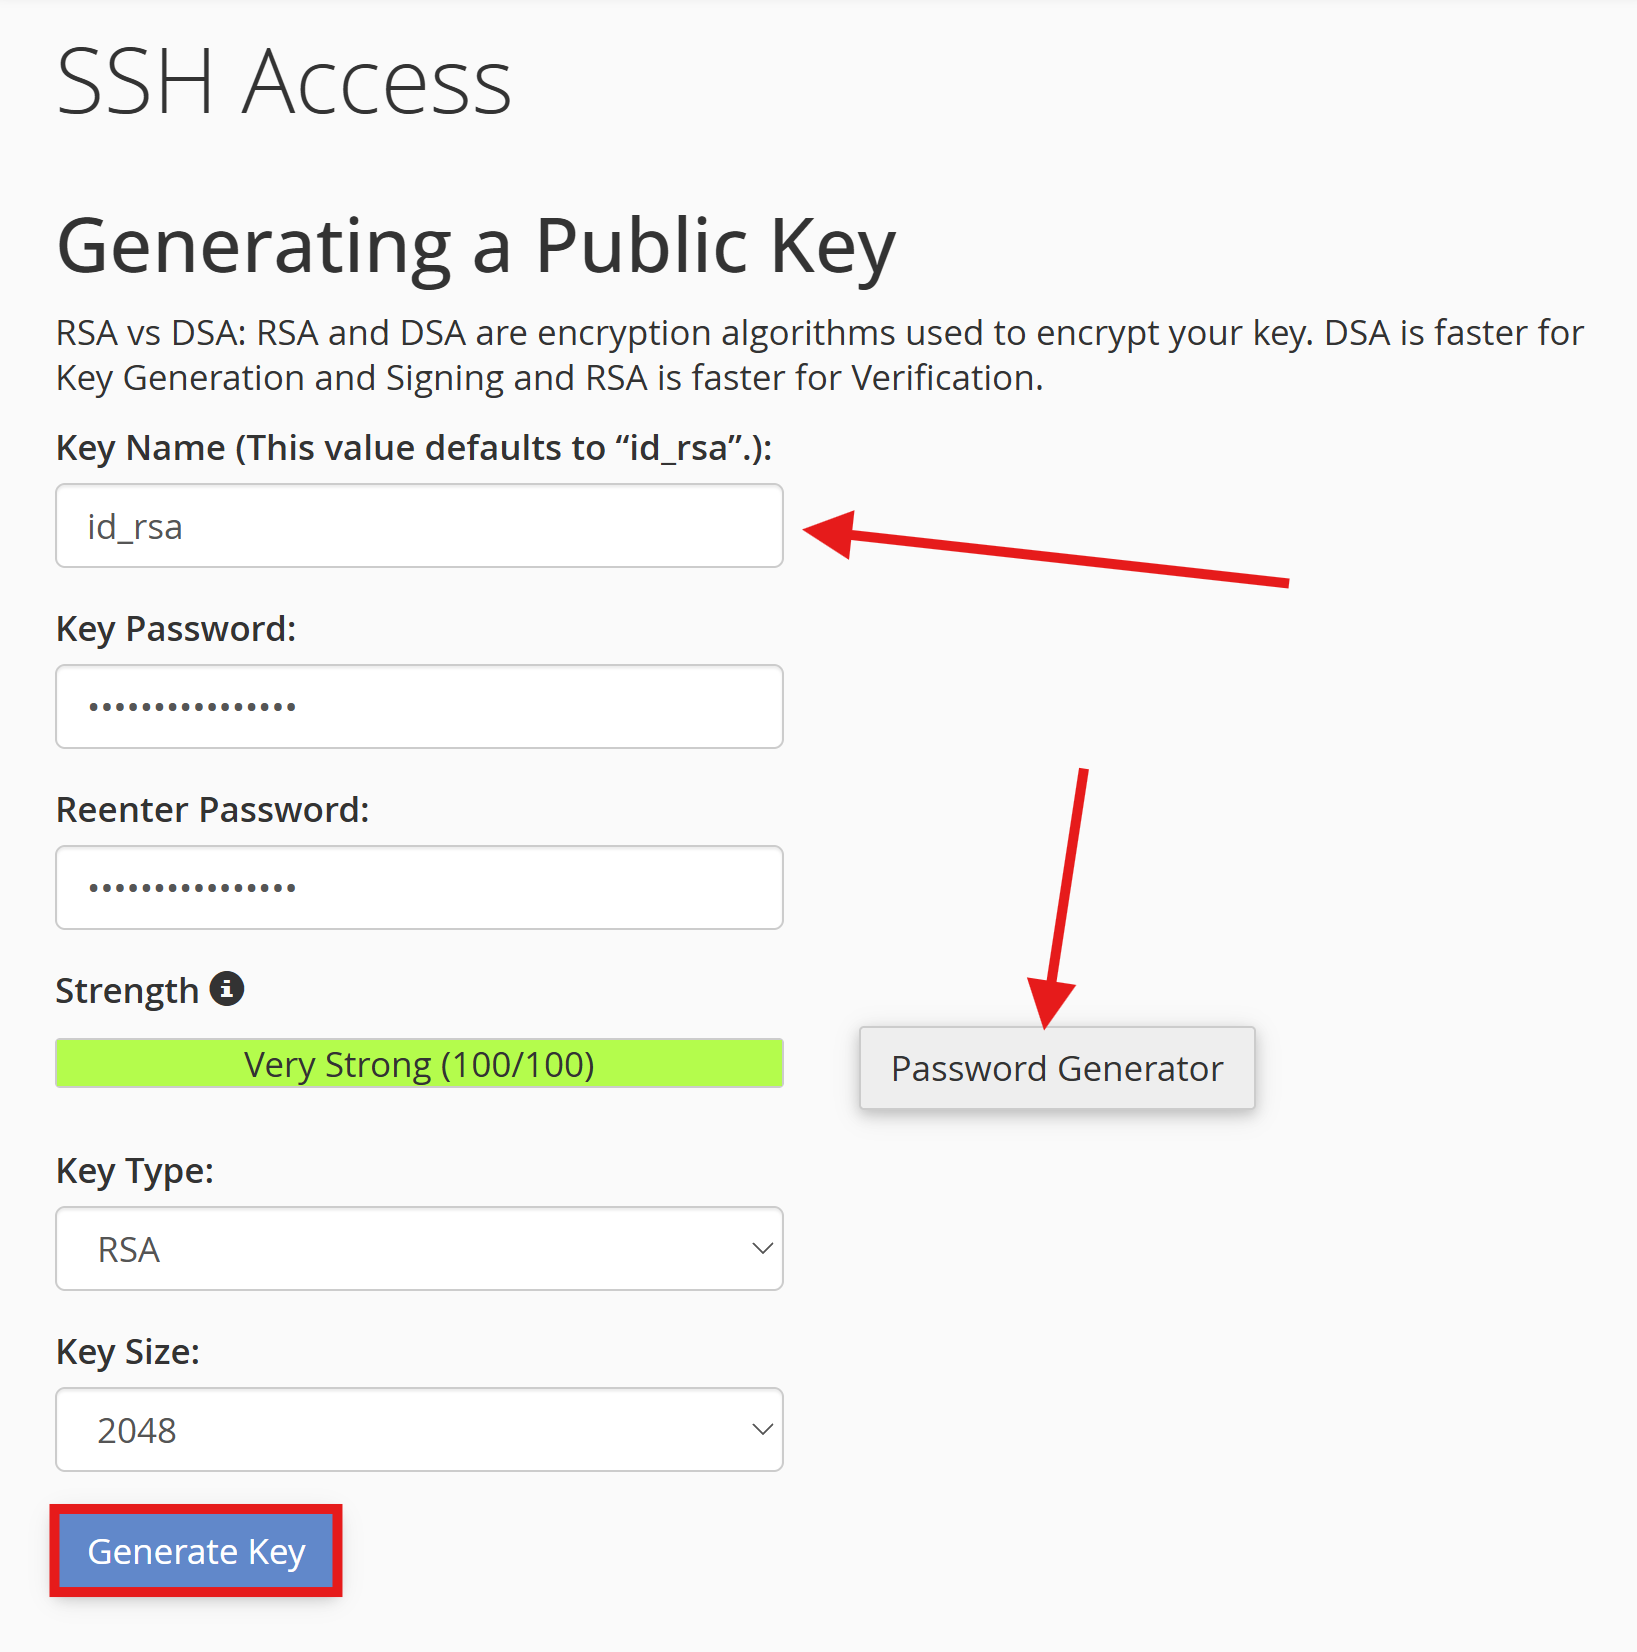
Click Generate a New Key. Give your key a name you can easily identify, for example mykey or mylaptop or you can keep the original name. Leave the other settings as default and click Generate Key.

Step 4: Authorize the Key
Once generated, go back to Manage SSH Keys. Click Manage next to your new key, then click Authorize to activate it.

Step 5: Download Your Private Key
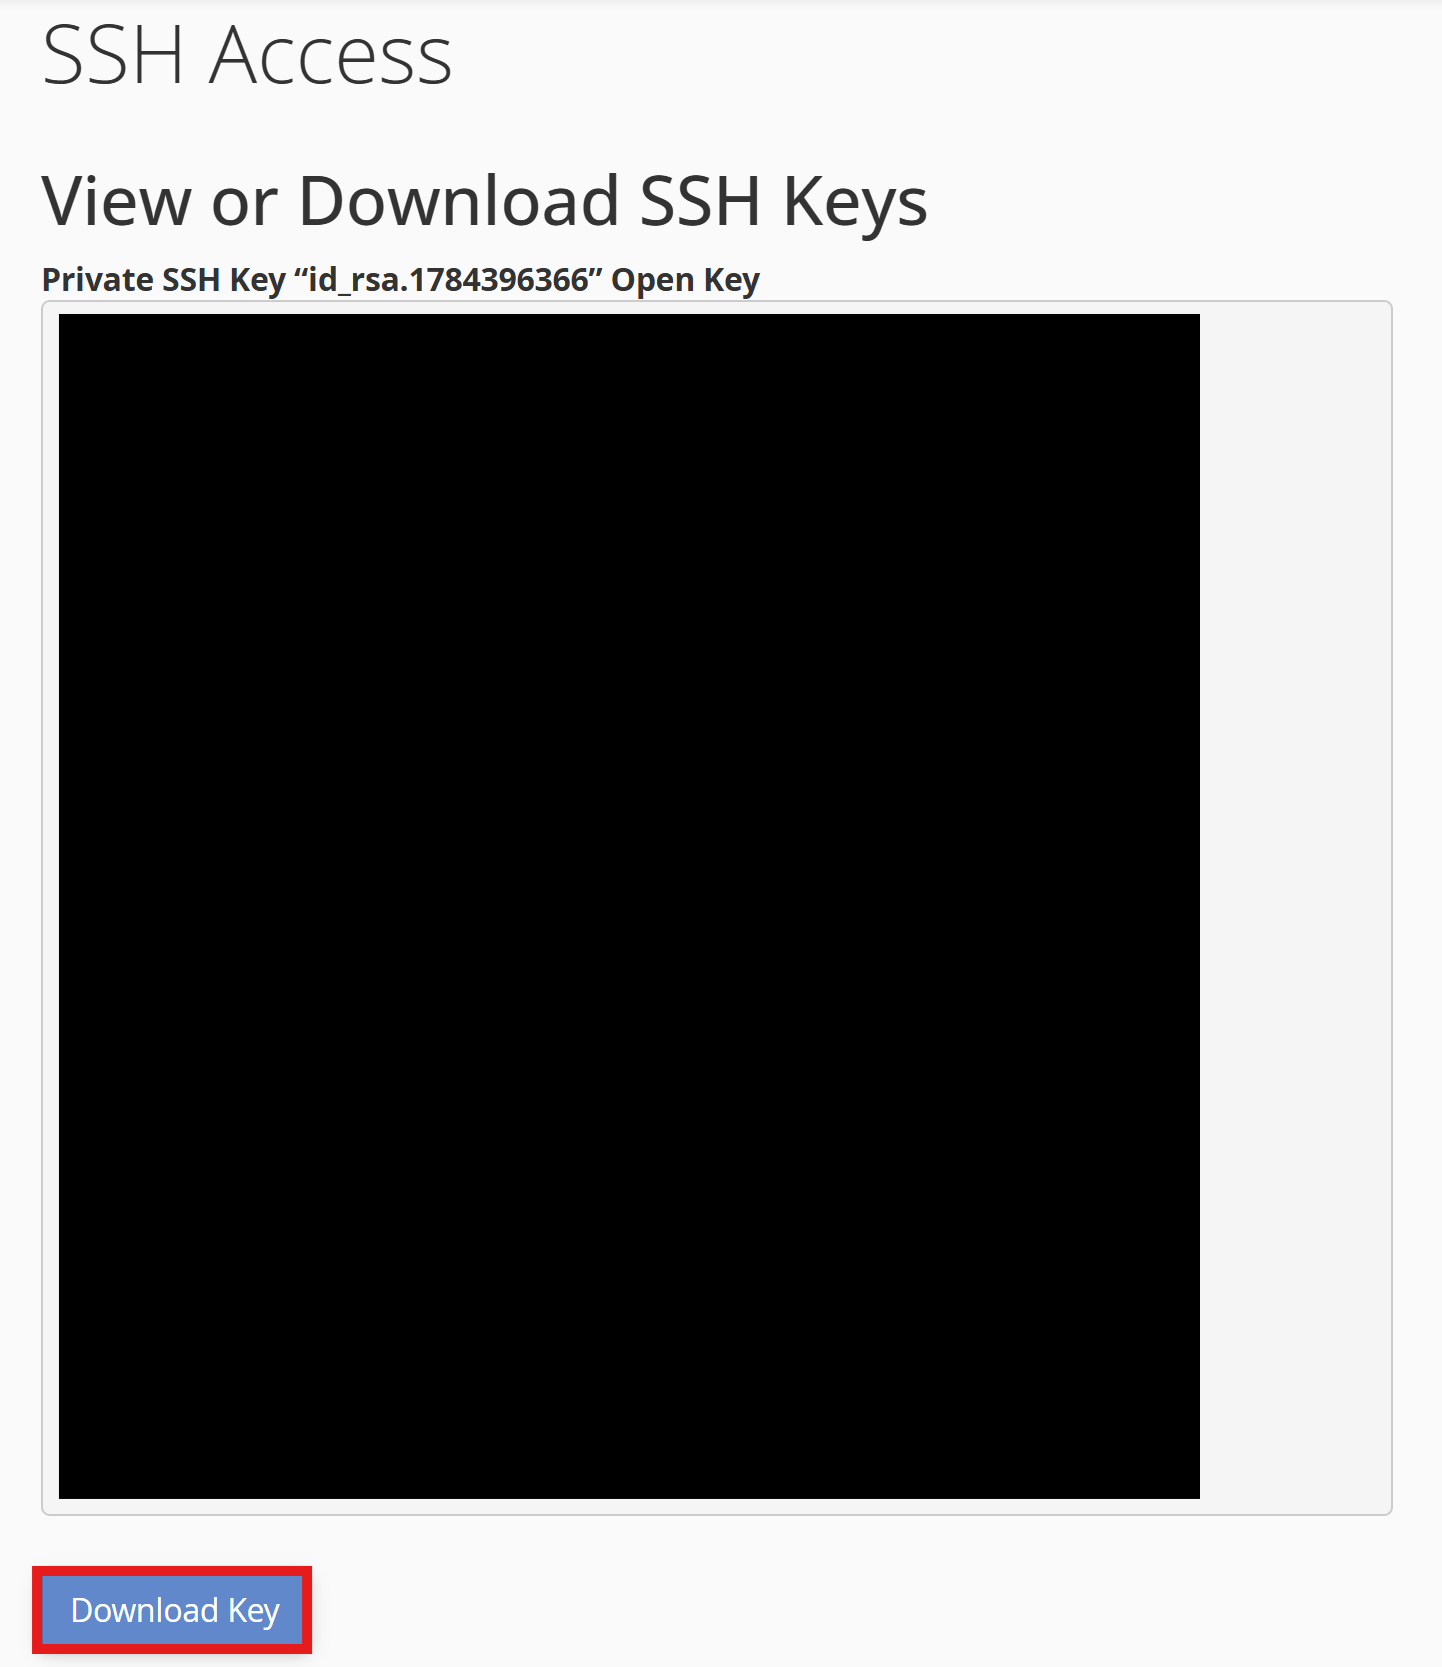
Go back to Manage SSH Keys and click View/Download next to your private key. Download and save the private key file to a safe location on your computer.
Important: Keep your private key safe and do not share it with anyone. This is what authenticates your connection to the server.
Part 3: Connect via SSH (Advanced Users Only)
SSH is for advanced users. Incorrect commands can cause serious issues with your hosting account. If you are not comfortable with server administration, use SFTP instead.
Note: Shared hosting customers should log in using their cPanel username. Root login is not available on shared hosting accounts.
Before connecting via SSH, make sure you have completed Part 2: Generate SSH Keys above.
You can connect via SSH using a graphical SSH client (no command line needed) or via Terminal/Command Prompt.
Option A: Using a Graphical SSH Client (Recommended)
For those who prefer a visual interface, use one of the following:
Configure your client using:
- Host:
vps60658.nodevm.com - Port: 37980
- Username: your cPanel username
- Authentication: your private key file downloaded in Part 2
Note: PuTTY uses .ppk private keys. If your key is in OpenSSH format (as generated by cPanel), you will need to convert it using PuTTYgen before connecting. Termius supports OpenSSH format directly and does not require conversion.
Option B: Using Terminal or Command Prompt
Mac / Linux:
Open Terminal and type the following command, replacing the values with your own:
ssh -i ~/path/to/private-key -p 37980 yourusername@vps60658.nodevm.com
Windows:
Open Command Prompt or PowerShell and use the same command format above.
Note: Shared hosting customers should use their cPanel username when connecting. Root login is not available.
Advanced: Generating SSH Keys Externally
If you prefer to generate your SSH keys outside of cPanel using Terminal (Mac) or PuTTYgen (PC), see our advanced guide: How To Generate SSH Keys Externally (Advanced)
Need More Help?
If you run into any issues our support team is available 24/7. Simply open a support ticket or use the live chat in your client area.
